
( AWS 계정과 S3 접근을 위해 Access Key, Secret Key발급은 완료된 상태라고 가정 )
1. 버킷 생성
- 서비스 > S3 클릭
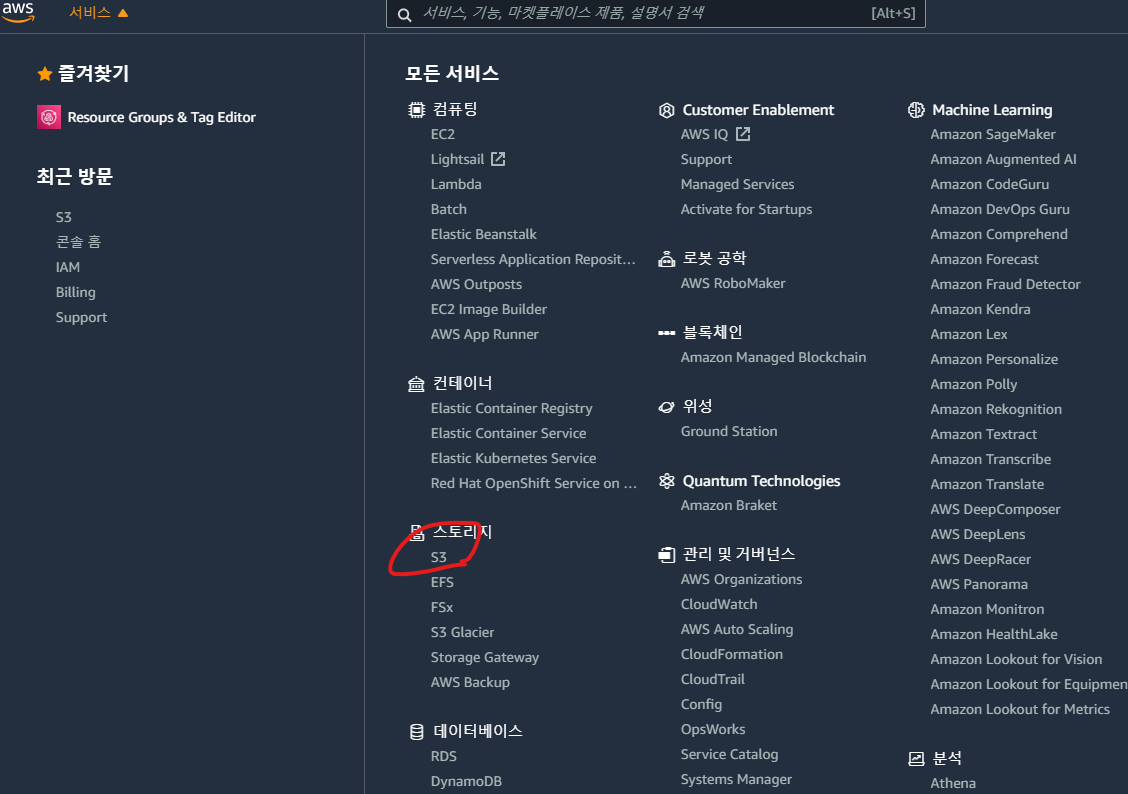
- 버킷 만들기 클릭

- 버킷 이름과 리전을 설정하고 버킷 만들기를 클릭
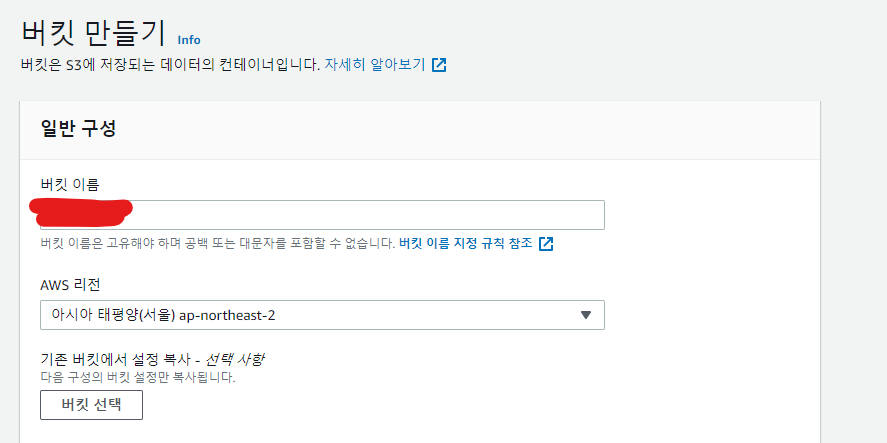
- 완료
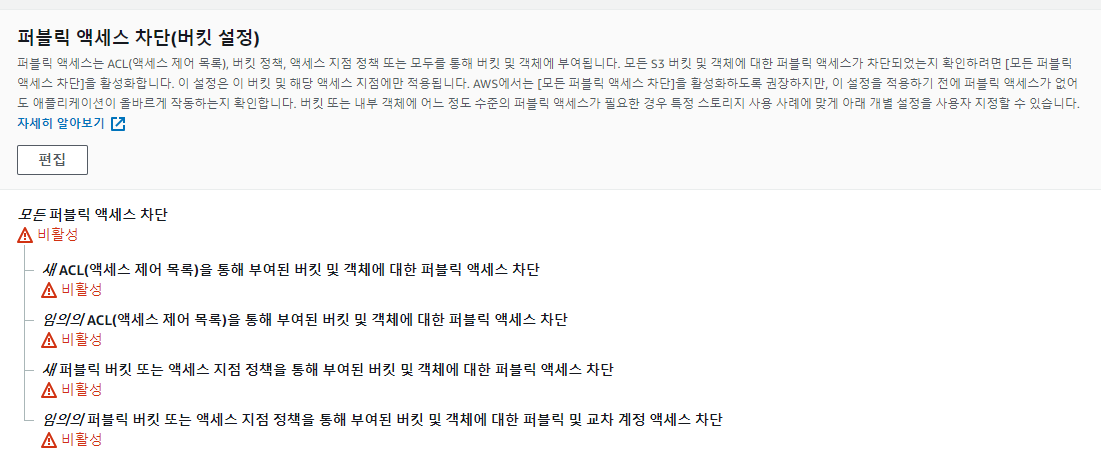
2. S3 버킷 > 권한에서 퍼블릭 액세스 허용
3. 버킷 정책을 통한 [익명 사용자에게 읽기 전용 권한 부여]
//참고 코드
{
  "Version":"2012-10-17",
  "Statement":[
    {
      "Sid":"PublicRead",
      "Effect":"Allow",
      "Principal": "*",
      "Action":["s3:GetObject","s3:GetObjectVersion"],
      "Resource":["arn:aws:s3:::DOC-EXAMPLE-BUCKET/*"]
    }
  ]
}
4. (SpringBoot) pom.xml에 의존성 추가
 <!-- AWS s3 -->
        <dependency>
            <groupId>org.springframework.cloud</groupId>
            <artifactId>spring-cloud-starter-aws</artifactId>
            <version>2.0.1.RELEASE</version>
        </dependency>
        <dependency>
            <groupId>org.springframework.cloud</groupId>
            <artifactId>spring-cloud-aws-context</artifactId>
            <version>1.2.1.RELEASE</version>
        </dependency>
        <dependency>
            <groupId>org.springframework.cloud</groupId>
            <artifactId>spring-cloud-aws-autoconfigure</artifactId>
            <version>1.2.1.RELEASE</version>
        </dependency>
5. application.properties 파일에 S3관련 정보 설정
# AWS S3
cloud.aws.credentials.accessKey=엑세스 키(AWS S3에서 발급 받은 키)
cloud.aws.credentials.secretKey=비밀 엑세스 키(AWS S3에서 발급 받은 키)
cloud.aws.stack.auto=false

# AWS S3 Service bucket
cloud.aws.s3.bucket=버킷 이름(설정한 버킷 이름)
cloud.aws.region.static=ap-northeast-2(버킷 지역->서울)

# AWS S3 Bucket URL
cloud.aws.s3.bucket.url=https://s3.ap-northeast-2.amazonaws.com/버킷 이름
6. config파일 작성
@Configuration
public class AmazonS3Config {

    @Value("${cloud.aws.credentials.access-key}")
    private String accessKey;

    @Value("${cloud.aws.credentials.secret-key}")
    private String secretKey;

    @Value("${cloud.aws.region.static}")
    private String region;

    @Bean
    public AmazonS3Client amazonS3Client() {
        BasicAWSCredentials awsCreds = new BasicAWSCredentials(accessKey, secretKey);
        return (AmazonS3Client) AmazonS3ClientBuilder.standard()
                .withRegion(region)
                .withCredentials(new AWSStaticCredentialsProvider(awsCreds))
                .build();
    }
}
7. controller 작성
* REST API 호출 코드 생략-
* 프론트의 요청을 받아 service 호출
8. service 작성
- 업로드
    // MultipartFile을 File객체로 변환
    public void upload(MultipartFile multipartFile, DirectoryName dirName) throws IOException {
        File uploadFile = convert(multipartFile)  // 파일 변환할 수 없으면 에러
                .orElseThrow(() -> new IllegalArgumentException("error: MultipartFile -> File convert fail"));

        // S3로 파일 업로드
        String fileName = dirName.toString() + "/" + UUID.randomUUID() + uploadFile.getName();   // S3에 저장된 파일 이름

        // s3에 업로드
        amazonS3Client.putObject(new PutObjectRequest(bucket, fileName, uploadFile).withCannedAcl(CannedAccessControlList.PublicRead));

        // 로컬에 저장된 이미지 지우기
        targetFile.delete()
    }

    // 로컬에 파일 업로드
    private Optional<File> convert(MultipartFile file) throws IOException {
        File convertFile = new File(System.getProperty("user.dir") + "/" + file.getOriginalFilename());
        if (convertFile.createNewFile()) { // 바로 위에서 지정한 경로에 File이 생성됨 (경로가 잘못되었다면 생성 불가능)
            try (FileOutputStream fos = new FileOutputStream(convertFile)) { // FileOutputStream 데이터를 파일에 바이트 스트림으로 저장하기 위함
                fos.write(file.getBytes());
            }
            return Optional.of(convertFile);
        }
        return Optional.empty();
    }
- 출력
 public ResponseEntity<byte[]> get(DirectoryName dirName) throws IOException {

 		S3Object s3Object = amazonS3Client.getObject(new GetObjectRequest(bucket + "/" + dirName.toString(), fileName));
        S3ObjectInputStream s3ObjectInputStream = s3Object.getObjectContent();
        byte[] bytes = IOUtils.toByteArray(s3ObjectInputStream);

        String setfileName = URLEncoder.encode(fileName, "UTF-8").replaceAll("\\+", "%20");
        HttpHeaders httpHeaders = new HttpHeaders();
        httpHeaders.setContentType(MediaType.APPLICATION_OCTET_STREAM);
        httpHeaders.setContentLength(bytes.length);
        httpHeaders.setContentDispositionFormData("attachment", setfileName);

        return new ResponseEntity<>(bytes, httpHeaders, HttpStatus.OK);

 }
- 삭제
public void delete(DirectoryName dirName) throws AmazonServiceException {
	 amazonS3Client.deleteObject(new DeleteObjectRequest(bucket + "/" + dirName.toString(), fileName));
}
- 수정
    public void update(DirectoryName dirName, MultipartFile multipartFile) throws AmazonServiceException, IOException {
        delete(dirName);
        upload(multipartFile, dirName);
    }
9. 완료
* 전체 코드는 추후 GitHub에 업로드 예정
'Spring' 카테고리의 다른 글
| STS에서 Spring Starter Project 생성 (0) | 2021.12.28 |
|---|---|
| 환경설정 (인코딩) (0) | 2021.12.28 |
| EC2에 Spring Boot배포하기 (0) | 2021.08.03 |
| IntelliJ에서 JDK 설정 (0) | 2021.08.02 |
| IntelliJ에서 SpringBoot 프로젝트 생성 (0) | 2021.07.22 |